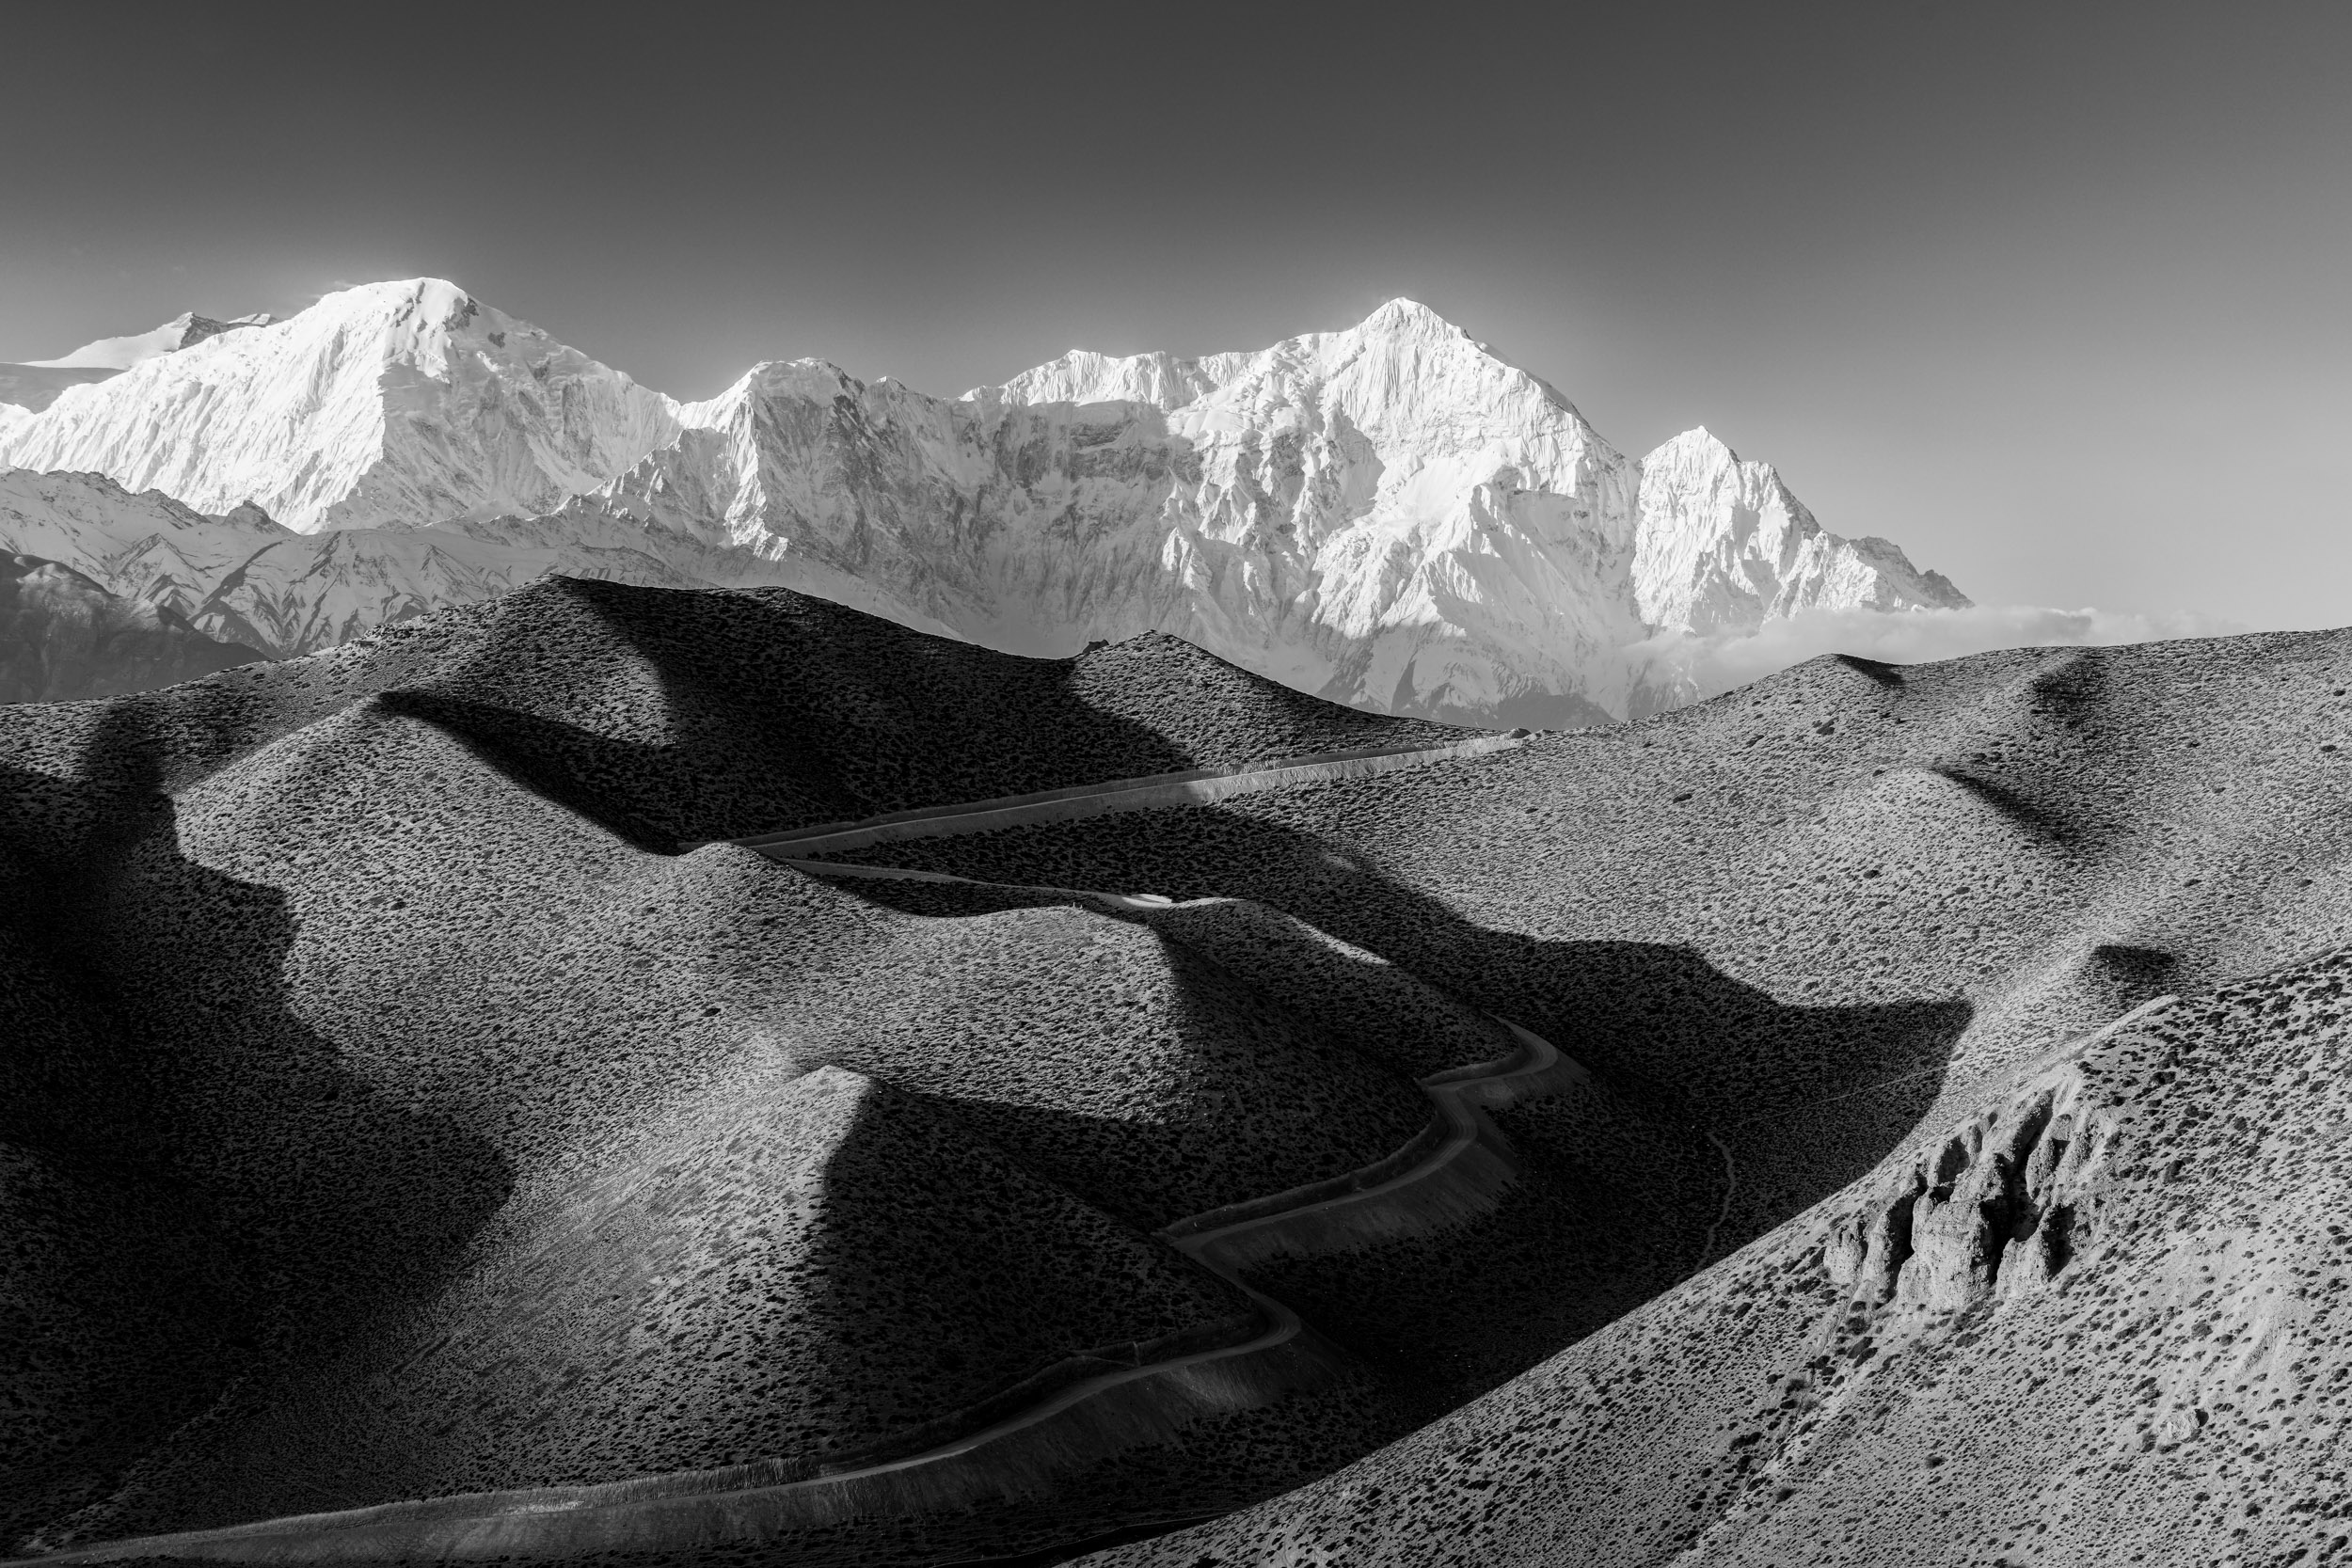
If you’re looking for some black and white photography tips then read on.
From the beginnings of photography, photographers have shot in black and white. Today, that trend continues as the medium enjoys continued fascination for those of us who enjoy seeing the world in a more monochrome way.
Camera manufacturers such as Leica even produce black and white digital cameras so you can fully immersive yourself in the monochromatic world.
How do I take a black and white photo? The great thing about modern mirrorless, and some digital SLRs, is that you can set them to show you the live view in black and white. Thus this enables you to previsualize what you’re going to get.
By enabling the black and white mode you can very quickly see if your image will work as a black and white photo. Whether that scene in front of you is worth spending the time in post-production back at the digital workstation converting it to black and white.
Do be aware though that the image you see on the back of your camera is a JPEG and when you import the raw file into software such as Adobe Lightroom or Capture One the software will immediately render it back into colour.

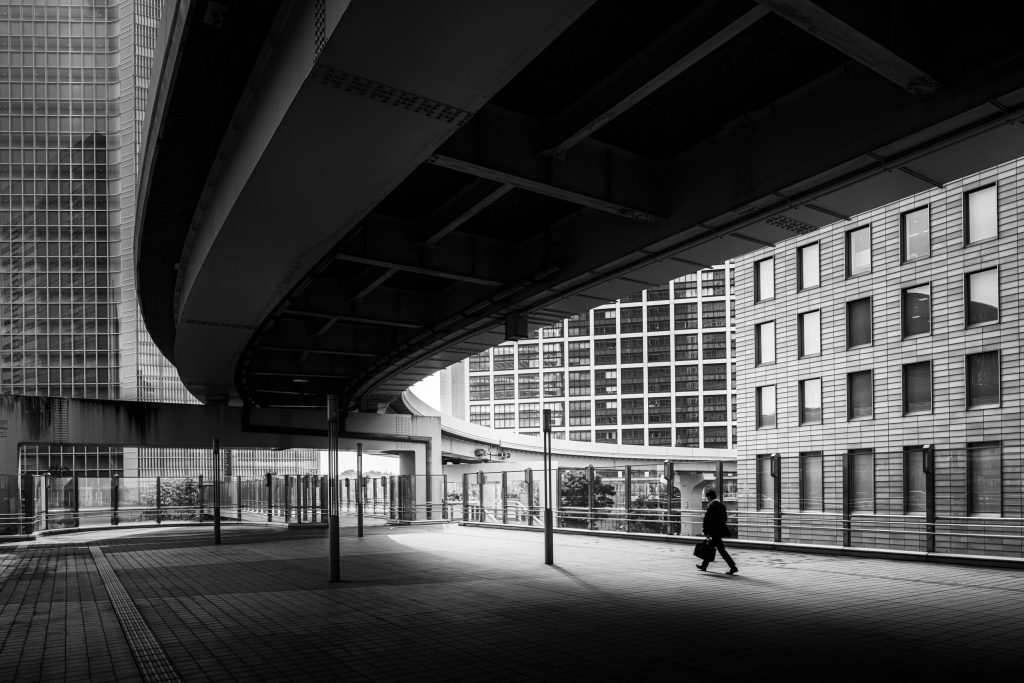
As a professional travel photographer for over a decade I have seen trends come and go. One black and white photography tip not fall into is looking outside, seeing it’s a dismal day and then automatically assuming that it’s going to make a great black and white image. It’s not.
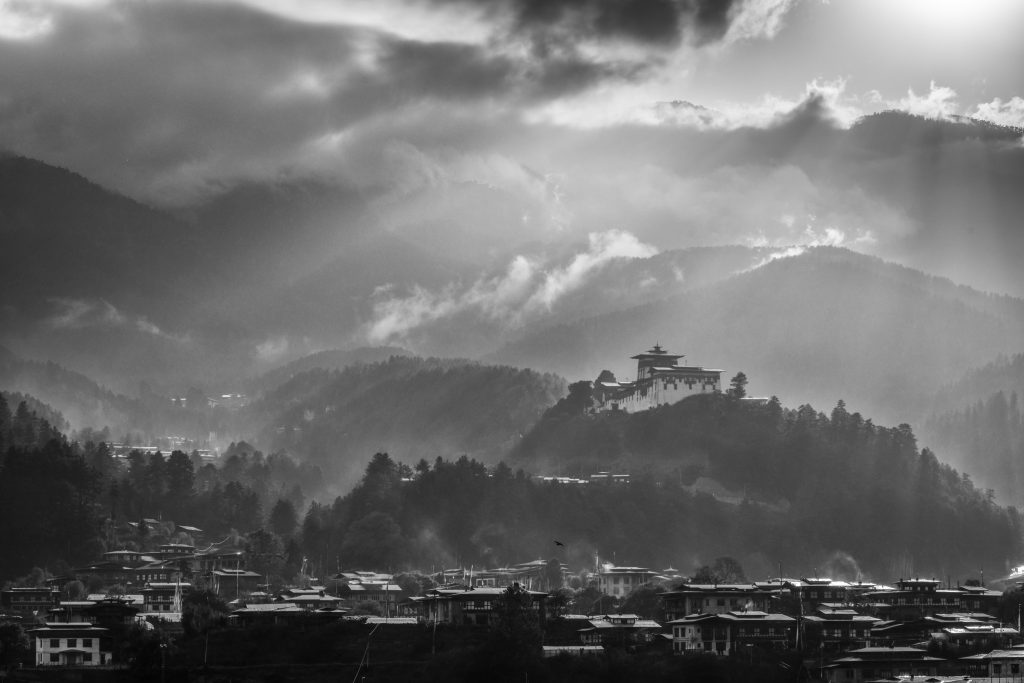
If you take the esteemed photographer Fan Ho as example and look at his images then you’ll see someone who used light to shape his subjects. There is beautiful backlighting, front lighting, side lighting and the play of shadows throughout his work. That light serves to shape the subjects within his images.
So don’t fall into that social media trap of just going out on a dull day to capture black and white photography. Learn from the masters.
As mentioned above, nowadays it’s been made all the easier for digital photographers to pre-visualize the word in black and white. With the flick of a button you can see the world of colour turn into monochrome.
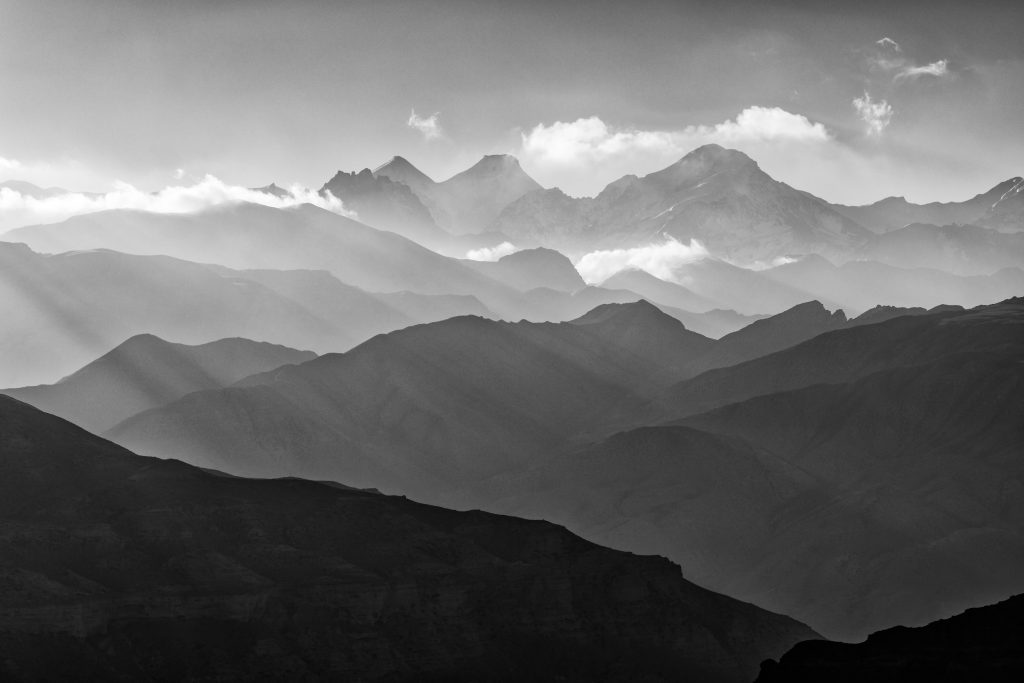
But what happens if you don’t have your camera? Start paying attention to what looks good. For example, if you have a moody day with light breaking through the clouds and spotlighting different areas of a scene then you could very easily be onto something.
The more often you turn on the black and white mode on your camera the more you’ll be able to get a feel for how monochrome imagery.
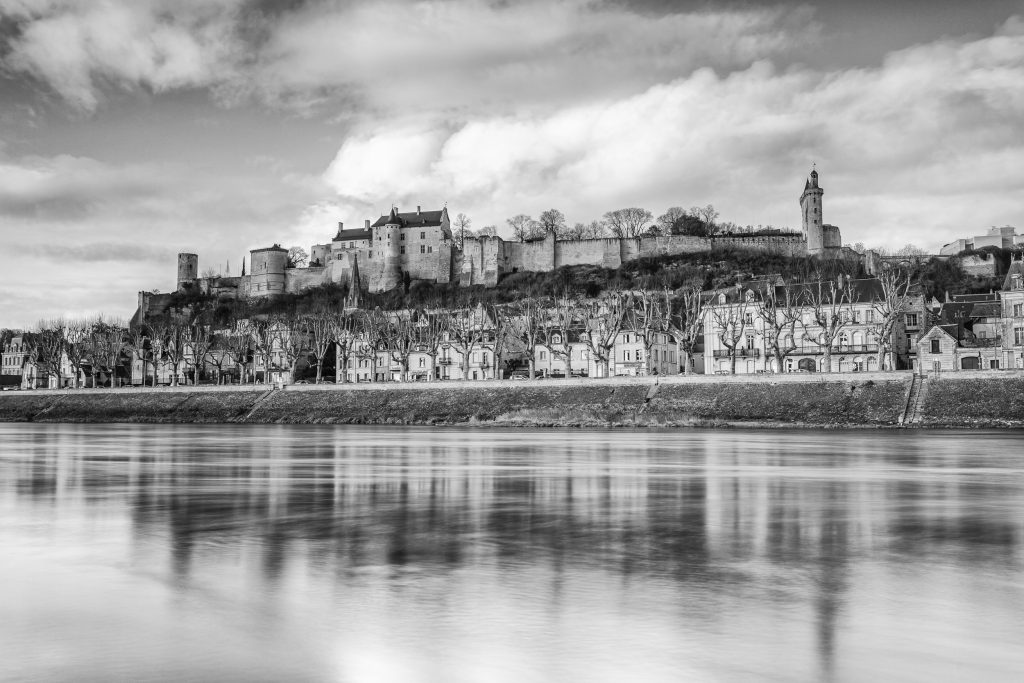
Amongst certain elements of the YouTube photographer fraternity there seems to be this “thing” of adding a 10-stop neutral density filter to their shot, converting it to black and white, then calling it fine art. It’s not. It’s just a long exposure black and white image.
If you’re going to add filtration to your image then use it sparingly. Don’t fall into clichés from social media otherwise you’ll end up with black and white photographs that look like everyone else.
The key to photography and getting your work seen is to stand out from all the others.
Within programs such as Adobe Lightroom you can quickly convert any colour photograph into black and white. This will quickly give you a feel of how your final image is going to look.
Adobe Lightroom does also come pre-packed with a variety of presets too to further help you tweak your black and white image.
Outside of this you can use software such as Nik Silver eFex. This plugin allows you to further enhance your images as it includes a variety of tools to help replicate the old black and white film stocks.
If I’ve taken an image with the intention of converting it to black and white then I’ll first work on it and then convert it in Adobe Lightroom before further tweaking it in Silver eFex. Once you’ve made the necessary tweaks to suit your taste you can then import it back into Lightroom and add any final touches that you want.
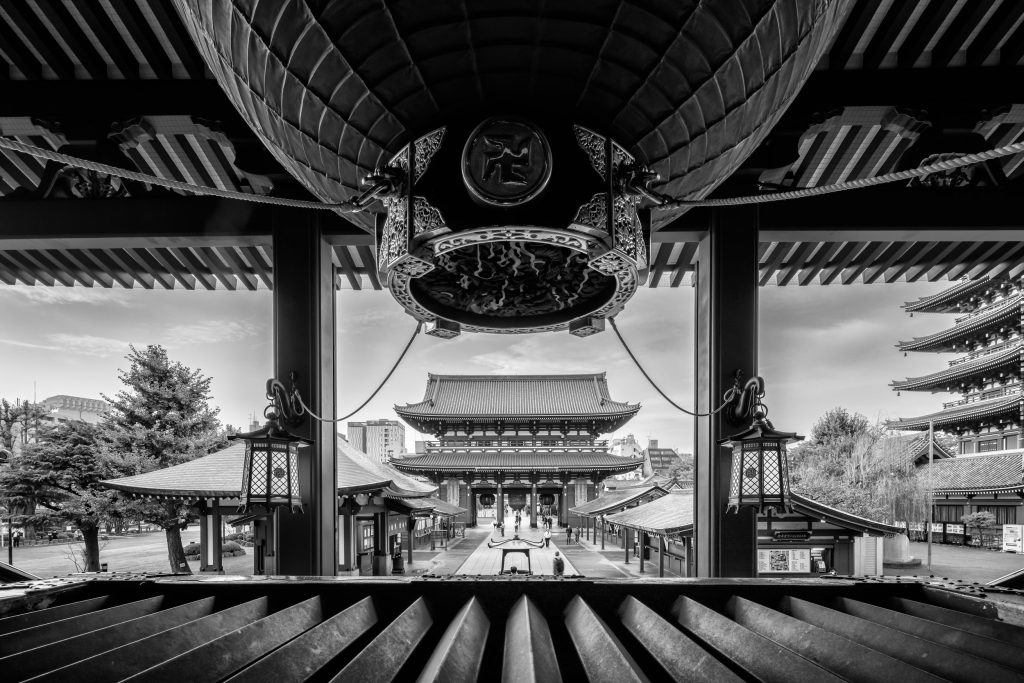
The last black and white photography tip is to print your work. There is nothing more satisfying than seeing your work printed. After all the effort you have gone into creating your photography the least you can do is print it out and admire your handiwork.
Printing really gives you an opportunity to evaluate what you’ve done. You’ll quickly see if there are things that need tweaking or maybe you might need to crop it to further enhance the final black and white photo.
What I would suggest is printing it at A3. This is a great size to look at without having to sit and look at it almost with a magnifying glass.
There are many companies that sell photographic paper but one I can definitely recommend is Permajet. They make a huge variety of photographic papers and are well-known within the industry for their products. They also run courses on how to print and get the best out of the papers as printing is truly another art.