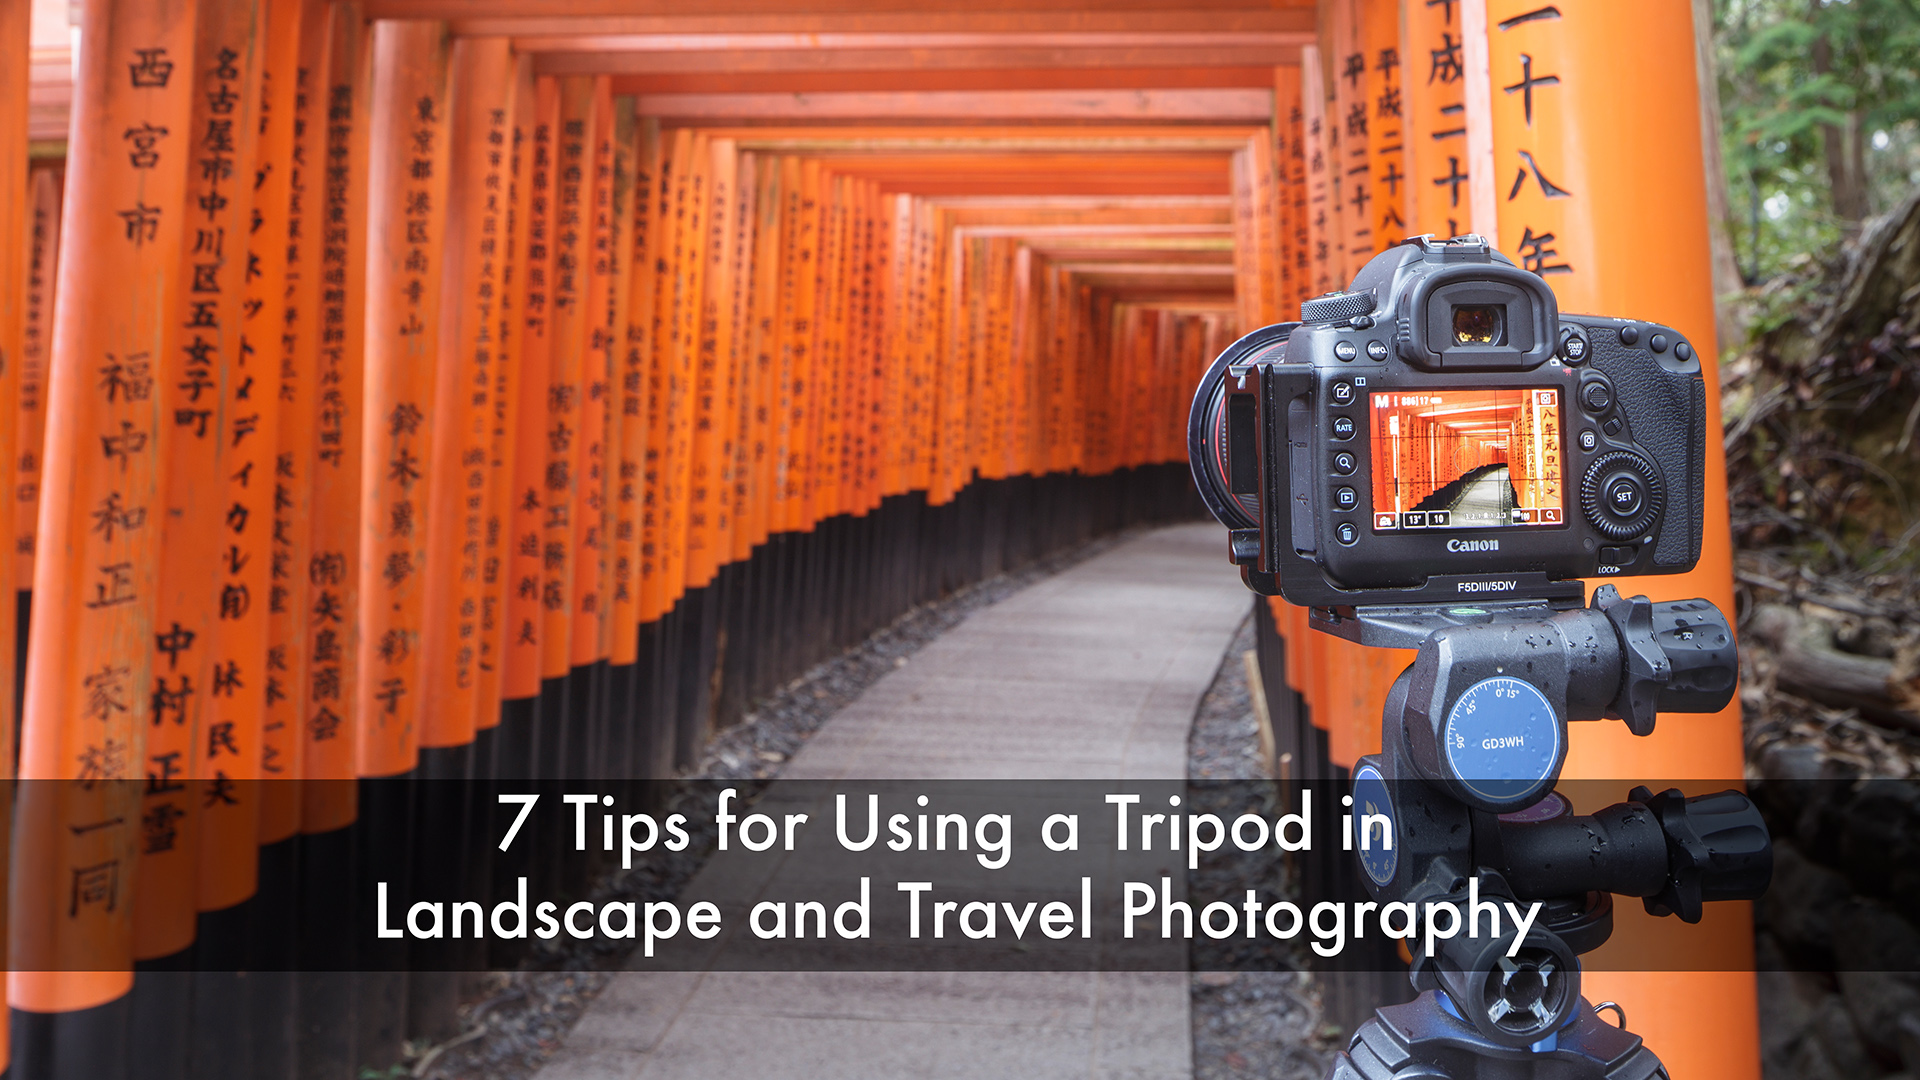
7 Tips for Using a Tripod in Landscape & Travel Photography explores 7 ways in which I get the best out of my tripod when I’m out and about.
People get into many bad habits when it comes to using their tripods in the field. These habits can lead to images having camera shake and frustration.
So here’s some of what I do to ensure I get all the imagery I want and that everything is as it should be.
One of the easiest ways to extend the life of your tripod is to keep it clean. When you’re out shooting, your tripod can get dirty from mud, sand, or even water. For instance, if you’re standing in a river, dirt can cling to the legs. After your shoot, always clean your tripod.
If you’re at the beach, be sure to rinse off any saltwater with warm water. Salt can cause damage, especially if your tripod is made from carbon fibre or aluminium. Learning how to take your tripod apart for thorough cleaning can help maintain its condition for years.
A level tripod is crucial for good landscape and travel photography. An uneven tripod can cause your camera to tilt, making your photos less appealing. Always check that your tripod is well-balanced, especially if it has spikes to anchor it on uneven terrain. A gust of wind can knock over an unsteady tripod, leading to costly repairs if your camera falls
When it comes to height, avoid extending the centre column if possible. Many photographers make the mistake of raising the centre column to meet eye level. This can lead to instability, affecting the sharpness of your images. Instead, choose a tripod that allows your camera to sit at eye level without raising the centre column. This approach minimizes the risk of blurry photos, especially in windy conditions.
Using an ARCA Swiss l-plate on your tripod can save you a lot of time and hassle. An l-plate allows you to quickly switch between horizontal and vertical camera orientations without losing your composition. For example, if you’re capturing a scene with trees aligned in rows, you can easily adjust your camera for a portrait shot while keeping everything aligned.
This system also makes it easier to stitch images together for panoramic shots, ensuring better results in editing software like Adobe Lightroom or Adobe Photoshop.
It may seem obvious, but many photographers hold on to their tripods even after setting them up. This can transfer nervous energy into the tripod and camera, leading to camera shake and blurry images. Once your tripod is balanced and levelled, let it stand on its own. The only time you should touch it is in very windy conditions to stabilize it further.
When using long lenses, proper positioning is crucial. Many photographers make the mistake of extending their camera too far forward on the tripod, which creates imbalances. To achieve sharp images, keep the camera closer to the centre of the tripod. This way, the centre of gravity remains stable, improving the chances of capturing clear shots, especially with long focal lengths.
Many tripods come with a hook on the centre column. This hook can be very helpful if you use a bungee cable. Attach one end of the bungee cable to the hook and the other end to your camera bag on the ground. This technique helps to weigh down the tripod, creating a more stable setup. Just ensure your bag remains still; swinging can introduce unnecessary movement.
Using a tripod effectively can significantly improve your landscape and travel photography. By keeping your tripod clean, levelling it properly, and using the right accessories, you can ensure sharp and stunning images. Remember to let the tripod do its job and maintain balance, especially when using heavier lenses. With these tips in mind, you’ll be well on your way to capturing breathtaking photos during your adventures.