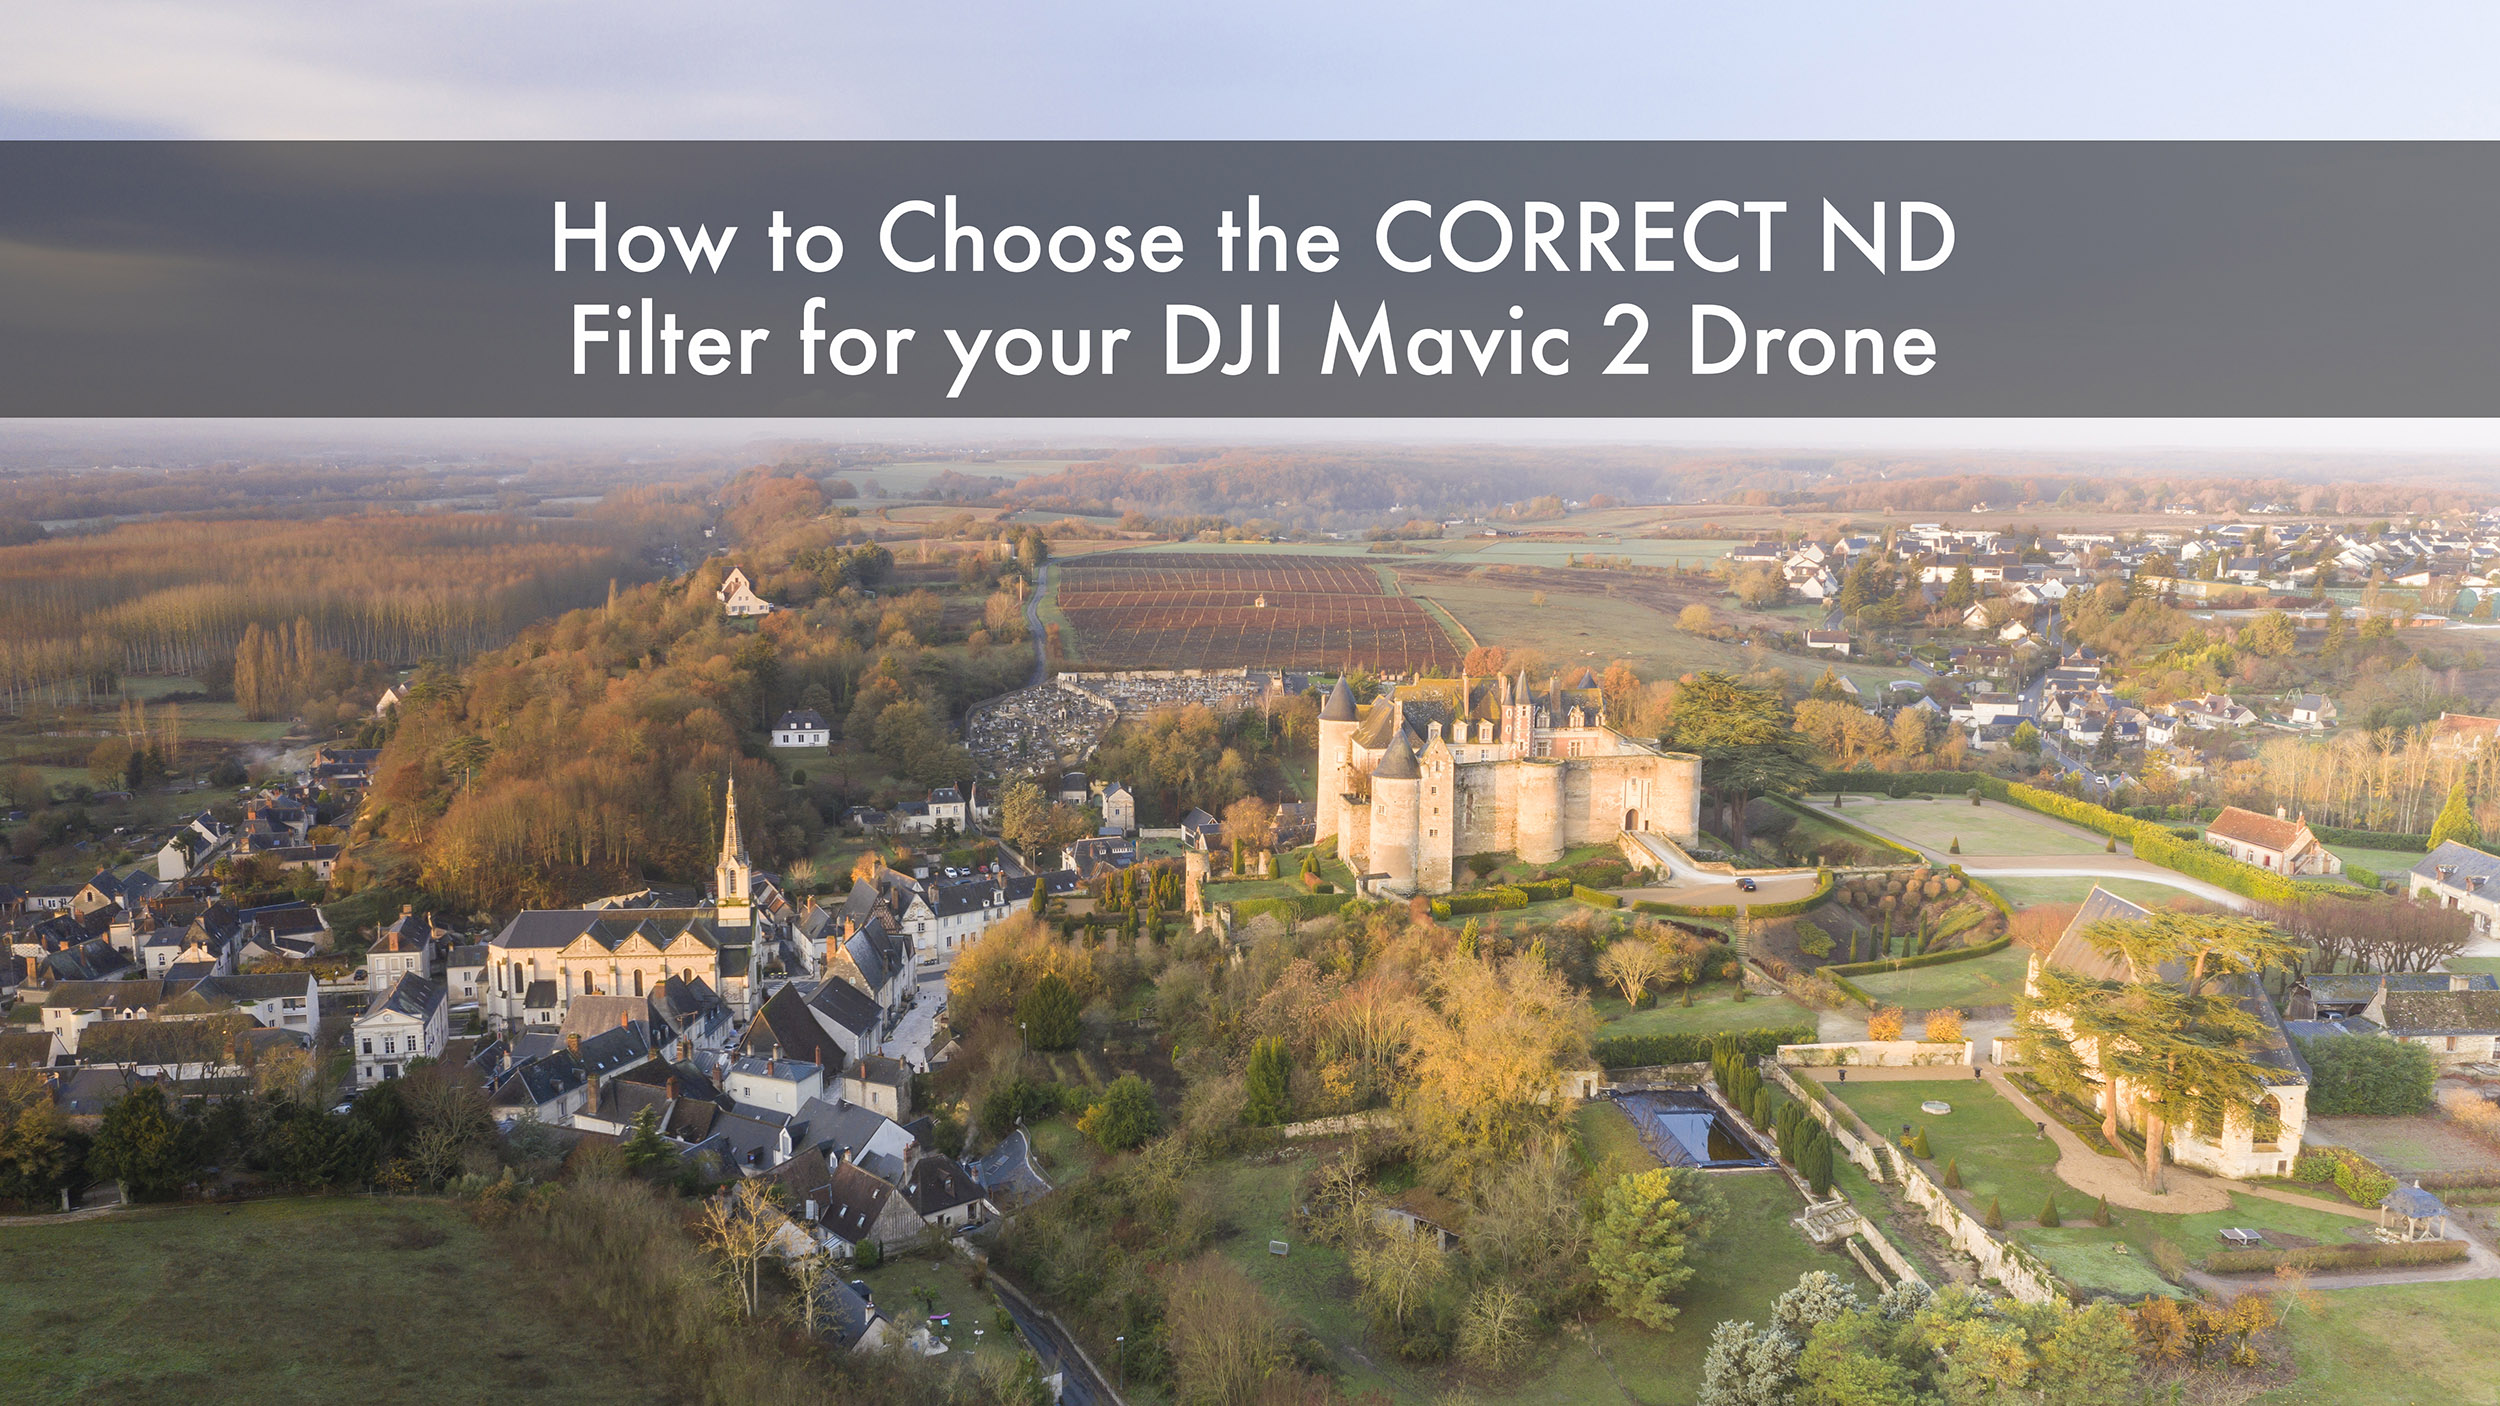
If you want to know how you choose a ND filter for your DJI Mavic 2 Pro drone then take a look here.
The latest DJI Mavic 2 Pro does give us an adjustable aperture but once you get past f5.6 then the image and footage quality gets kind of sketchy.
But this is where ND and polarizer filters can help us to slow down the shutter speed so that our footage retains that nice motion blur needed at the various frame rates per second.
A HUGE thanks to Freewell Filters for supplying the filters used in this tutorial.
Firstly, why should you consider using filters? ND filters help manage light exposure, especially in bright conditions. On sunny days, your drone’s shutter speed may become very fast, resulting in footage that appears choppy or staccato.
To achieve smoother footage, you need to slow down your shutter speed to match your frame rate. According to the 180-degree rule, the ideal shutter speed should be double your frame rate. For instance, if you are filming at 24 frames per second, your shutter speed should be around 1/50th of a second.
To grasp the need for ND filters, consider these crucial points about shutter speed:
An easy way to see this difference is by filming a spinning wheel. Fast shutter speeds result in a choppy look, while slower speeds produce fluid motion blur.
When selecting ND filters, they come in various strengths, each indicated by a number:
Knowing these numbers will help you choose the right filter based on your shooting conditions.
Choosing the right ND filter involves understanding your shooting environment. Here are two methods to determine the appropriate filter:
Method 1: Ground-level Testing
Method 2: In-flight Testing
In addition to ND filters, consider using polarizer filters. These work by reducing glare from reflective surfaces, such as water. Polarizers are also labelled with the same strength indicators (like ND4, and ND8) but have a “PL” at the end.
When filming near water or shiny surfaces, position the polarizer at a 90-degree angle to the sun for optimal results.
Investing in ND and polarizer filters for your DJI Mavic 2 Pro can significantly enhance your drone footage. By slowing down your shutter speed and reducing glare, your videos will appear more professional and captivating.
Next time you head out with your drone, remember to check your filters. With the right equipment, you can turn ordinary shots into breathtaking visuals. Happy flying!