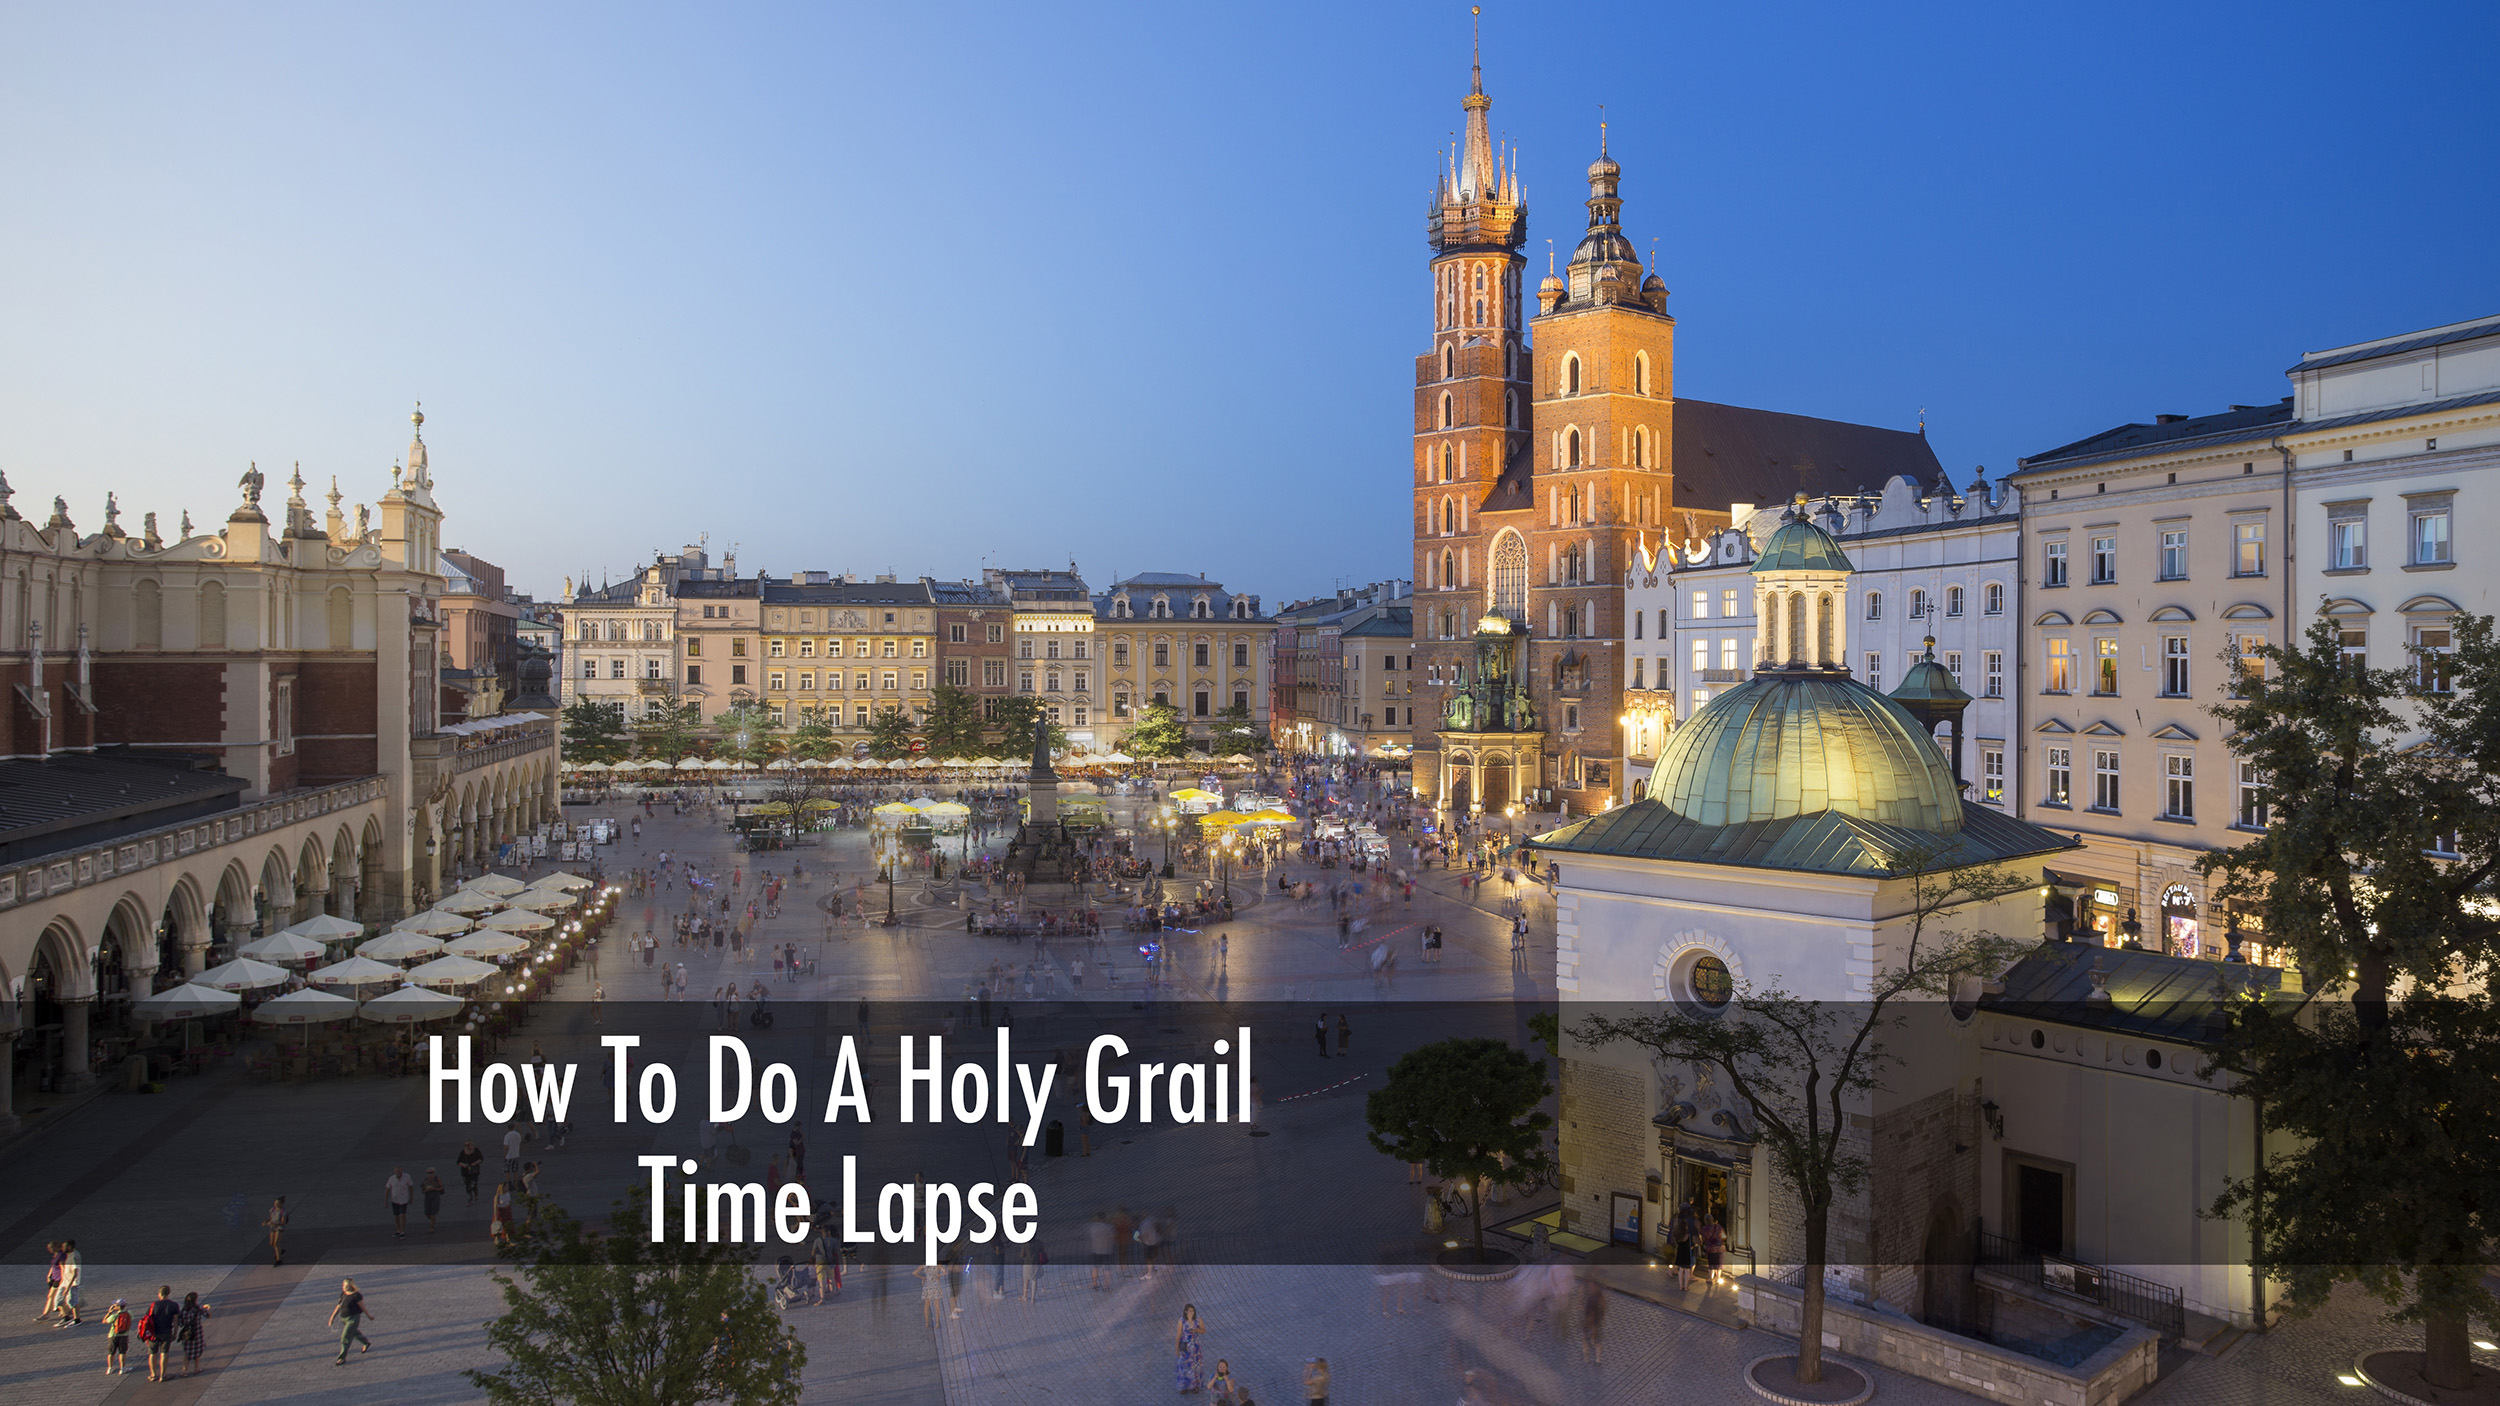
Is it easy to learn how to do a holy grail time-lapse? So-called as it’s the most difficult of all to do. But is it really so difficult? Well, yes and no.
Creating regular time-lapse footage during the day is a simple affair. You set your camera up on a tripod, add on the intervalometer, set the number of seconds you want and off you go. But the Holy Grail version requires patience and changing two elements of the exposure triangle as time passes. The two are exposure and ISO as the scene either darkens during sunset or lightens as the sun rises.
In recent years the creation of time-lapse footage has become ever more popular and the market has become inundated with ramping devices, sliders and other such paraphernalia. Of course, once you finish capturing the footage in camera then you need to process it and that’s where LR Timelapse comes in.
The software to create the final product isn’t discussed during the vlog but the process of creating it in the field is. So what are you waiting for? Give it a look and try out your own Holy Grail time lapse.
My YouTube channel is dedicated to all things landscape and travel photography so if that’s your thing then I’d love to have you come along for the ride.
To get started with your holy grail time-lapse photography, you’ll need a few key pieces of equipment:
Before beginning your day-to-night holy grail time-lapse, set up the composition of your shot. Make sure your composition fits the desired aspect ratio, especially if you plan to display it in 16:9 for video formats. Check your camera settings to ensure they suit your shooting needs, whether it’s for HD or 4K video.
For day-to-night holy grail time-lapses, the interval setting on your intervalometer is essential. A six-second interval is a good starting point, allowing for around 720 images over a 45-minute to an hour period. This interval provides enough time to adjust exposure settings as the light changes.
When starting your time-lapse, set your camera to ISO 50, a shutter speed of 1/50th of a second, and an aperture of f/8. F/8 is preferred as it limits aperture flicker, which can lead to headaches in post-production.
Ensure your camera is in manual focus to prevent it from adjusting unintentionally. While the time-lapse runs, keep an eye on the histogram to avoid any colour clipping. If one channel is clipping while others are fine, you may not need additional filters.
As the sun begins to set, you will need to adjust your shutter speed. Start by lengthening the exposure without changing the f-stop or ISO. This gradual change helps maintain image quality. As it gets darker, you will eventually need to decrease your ISO and adjust the shutter speed accordingly to capture the best image quality.
If you don’t have the Promote Control device, you’ll have to manually change the ISO and other settings, which may introduce some camera shake. However, stabilization software such as Adobe After Effects, Adobe Premier Pro or DaVinci Resolve can help smooth out any bumps during editing.
After capturing your day-to-night holy grail time-lapse, enjoy the lively atmosphere of Krakow. Remember, stopping your time-lapse around 35 to 45 minutes after sunset often yields the best results. With approximately 720 photos, you’ll have a stunning visual journey showcasing this beautiful city.
Creating a day-to-night holy grail time-lapse may seem challenging, but with the right preparation and equipment, it’s achievable. Whether you’re in Krakow or another city, you can now share dynamic transitions with your audience. Happy shooting!