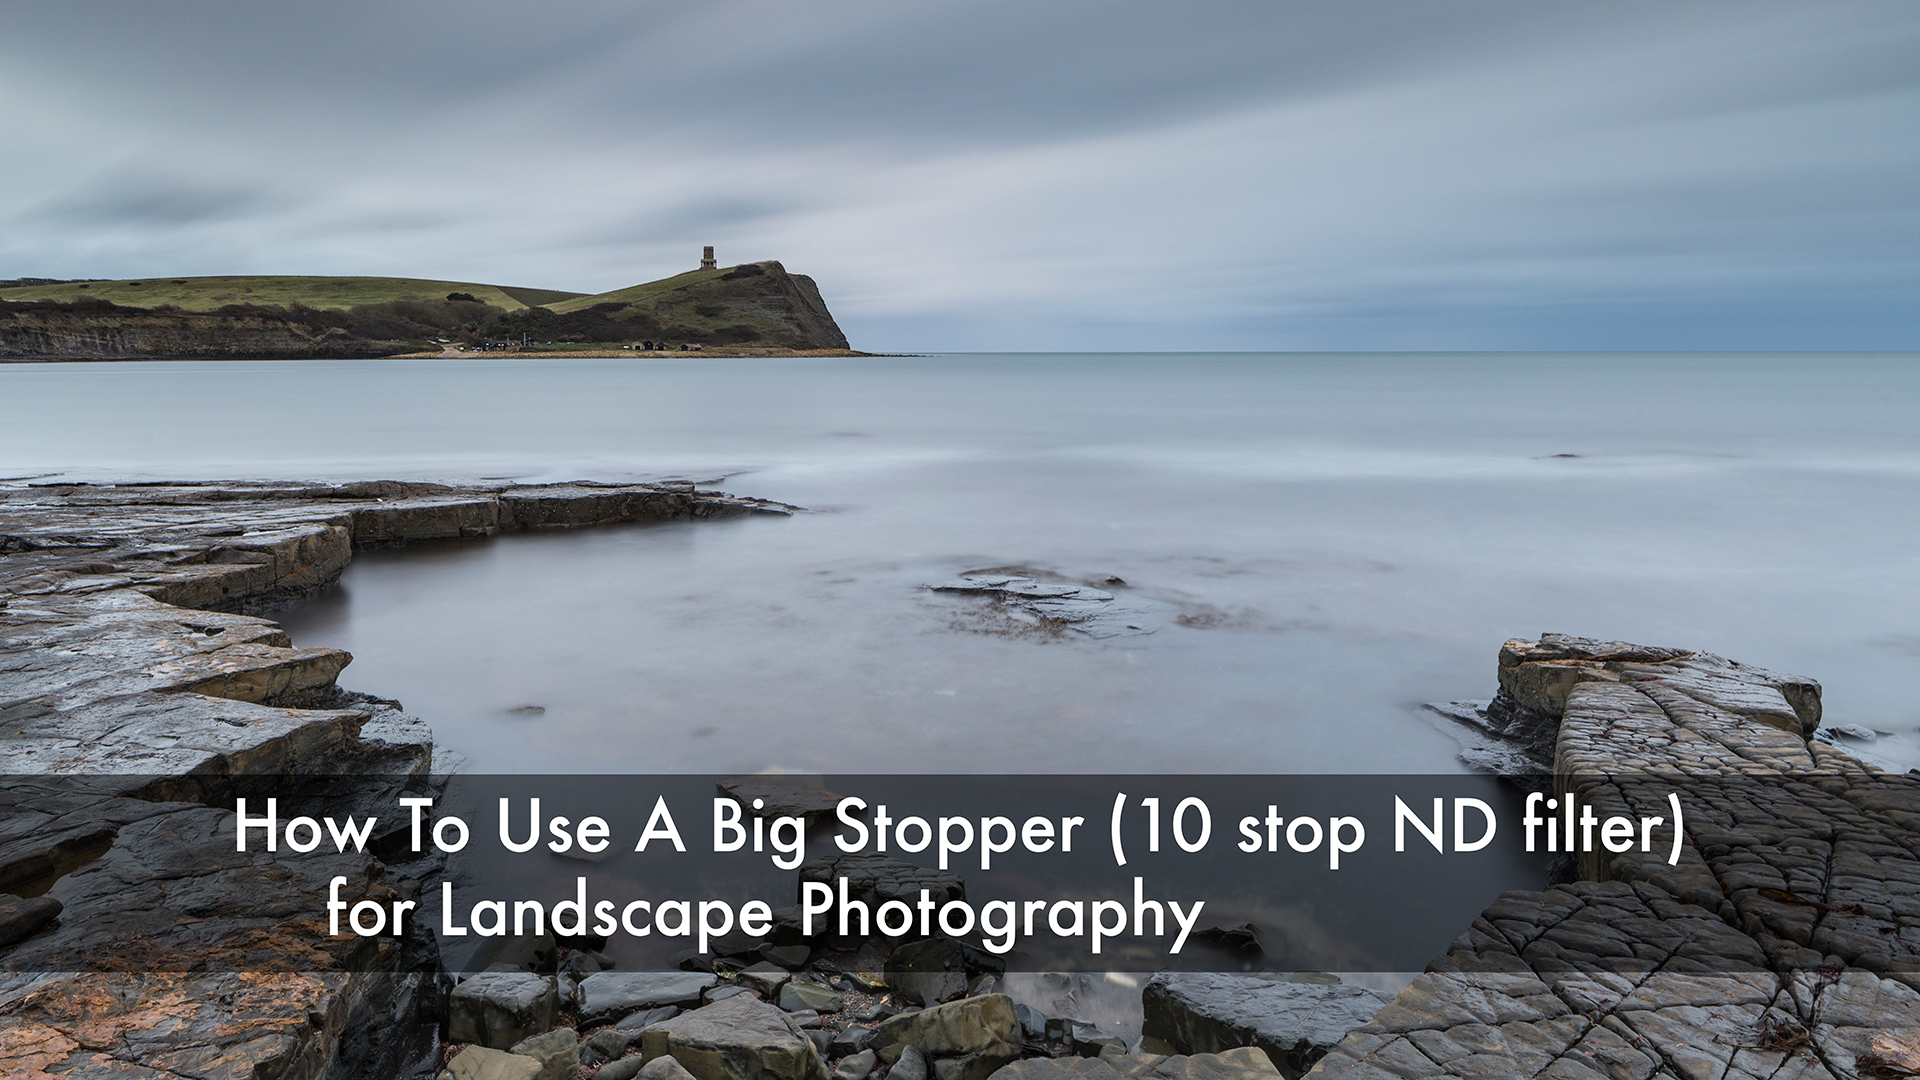
If you want to learn how to use a big stopper then my latest vlog is for you.
The 10-stop Neutral Density filter also known as the Big Stopper is one of those filters that gives a love or hate final image. Becoming ever more popular over the last 8 or 9 years you’d be hard-pushed to find a landscape photographer that hasn’t used one.
This extremely dense filter will elongate the final exposure from seconds into minutes giving a surreal look to the resulting photograph. Blurred water and misty seas along with streaky clouds are the order of the day.
My latest video vlog demonstrates some of the scenarios where you can use it as well as how to calculate the correct exposure time.
The tutorial builds on the different scenarios so that you can comfortably go out in the landscape with your 10-stop filter and create a new and different type of image. An image that can’t be replicated with the likes of Adobe Photoshop or Adobe Lightroom.
Gear used during the tutorial includes
Canon 6D
Canon 17-40mm F4 L
Canon 28-70mm F2.8 L
Lee Filters IRND 10 stop Neutral Density Filter
Manfrotto carbon fibre tripod
Manfrotto 410 geared head
Before you can even think about taking a picture, set up your camera correctly:
With these steps, you’re ready to capture striking images, like a beautiful waterfall.
Let’s break down how to calculate exposure time with a 10-stop filter. Suppose you start by measuring the light in a darker area near a waterfall, resulting in a base exposure time of 1/2 second. To achieve the correct exposure with the filter, follow these steps:
By understanding this sequence, you can take precise control of your exposure, even without relying on phone apps.
Once you have calculated your exposure time, place the 10-stop ND filter on your lens and take your shot. With the waterfall example, setting a long exposure of 125 seconds will create a dreamy effect, smoothing the water flow beautifully.
Different photographers have different tastes. While some may love the look of a very long exposure, others may find it too much. Experimenting with the length of exposure allows you to find your unique style.
The versatility of a 10-stop ND filter extends beyond just waterfalls. For instance, when photographing a windy landscape such as Pilsdon Pen, you can add movement to the clouds. Here’s how:
If you are unsure of how to use Neutral Density Graduated Filters then I have a tutorial elsewhere on my blog.
Even cloudy days, which often seem uninviting, can lead to beautiful photographs using a 10-stop ND filter. For example, at Kimmeridge Bay, you might find the sky grey and dull, but with the filter, you can capture stunning long exposures that flatten the sea and create a moodier atmosphere.
To set up your shot:
Learning how to use a big stopper or 10-stop neutral density filter can transform how you approach landscape photography. By following the preparation steps, calculating your exposure, and embracing various conditions, you can create stunning images that capture motion and mood. Whether you’re photographing waterfalls, moving clouds, or coastal scenes, the Big Stopper should be in your kit. Keep practising and experimenting to find your unique vision and style in photography.