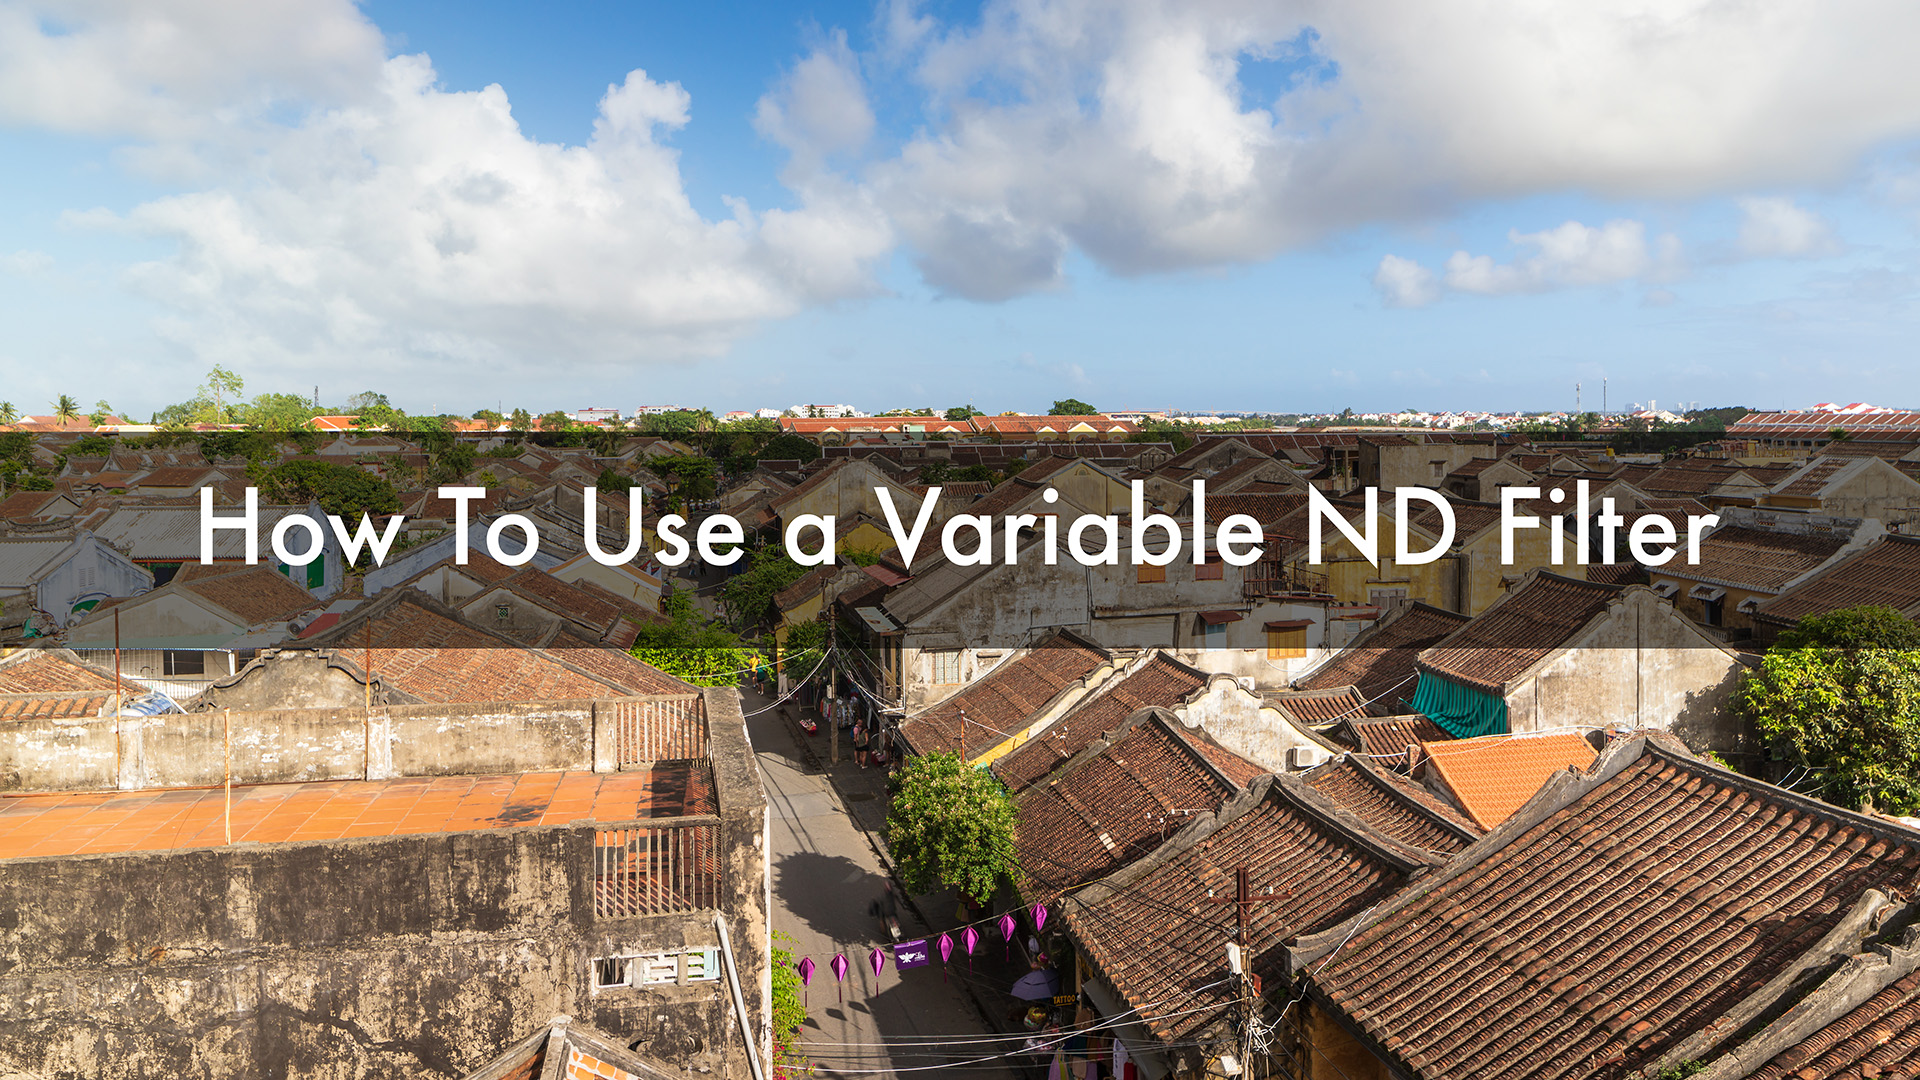
How to use a Variable ND filter shows three different ways in which you can apply the filter in your photography.
Kase Filters, for which I am a Global Ambassador, supplied the filter that is used within the video.
Detailed within the video you’ll see the filter applied to filming video footage, time-lapse, and then one scenario for photography.
Of course, there are other applications within photography but I chose a scenario based on the location that I was in.
When shooting video, following the 180-degree shutter rule is important. This means that if you’re filming at 24 frames per second, your shutter speed should ideally be 1/50th of a second. However, if you’re filming in bright sunlight then it can make this challenging.
By using a variable ND filter you can overcome this challenge. For instance, if you’re filming in bright conditions, the variable ND filter allows you to reduce the light entering the lens, making it easier to achieve the correct shutter speed. With a filter that can adjust from two to five stops, you can easily find the right balance for your exposure.
While filming in a vibrant place, like the streets of central Vietnam, putting the variable ND filter on your camera can help you get more dynamic images. You’ll notice that as you adjust the filter, the image gets darker, allowing you to slow the shutter speed to 1/50th of a second. This adjustment is crucial for capturing smoother motion, whether it’s a person walking by or a bicycle in motion.
Time-lapse photography captures a series of images over time, showing movement in a short video format. Again, you want to maintain the 180-degree shutter rule. For a smooth time-lapse, a longer shutter speed can create nice motion blur.
When using a variable ND filter for time-lapse sequences, you can apply more of the variable ND filter to darken the scene, allowing you to set a longer shutter speed without overexposing the image. Imagine setting up your camera to catch beautiful clouds moving by. By adjusting the variable ND filter, you can elongate your exposure time to get those soft, flowing clouds in your shots.
Setting Up for Success
To achieve this, ensure your camera is set to a suitable aperture, like f/8, while utilizing the variable ND filter to find the perfect exposure. This way, you can capture stunning time-lapse footage of the clouds without worrying about overexposure.
Panning shots, where the camera moves along with a moving subject, create interesting and dynamic images. However, achieving the right shutter speed can be tricky, especially in busy areas filled with bicycles and scooters.
A variable ND filter lets you slow down the shutter speed without needing to decrease your aperture. This is especially useful if there’s dust on your sensor, as smaller apertures can make dust more visible in your images.
While waiting for the right moment in a bustling street, ensure your setup is ready. Use a wide aperture to keep your subjects sharp while blurring the background. The variable ND filter gives you the flexibility to adjust the exposure and achieve that perfect panning shot without compromising on clarity.
In summary, a variable ND filter is a valuable addition to any photographer’s or videographer’s kit. Whether you’re filming video footage, creating stunning time-lapse sequences, or capturing dynamic panning shots, a variable ND filter helps manage light effectively. With options from brands like Kase Filters, K&F Concept and others you can easily find a filter that suits your needs. Remember, it’s about having the right tools to bring your creative visions to life.
My YouTube channel is dedicated to all things landscape and travel photography so if that’s your thing then I’d love to have you come along for the ride.