Would you like to know how to use ND grad filters?
Landscape photography can be breathtaking, but getting the perfect shot often requires more than just a good eye. One essential tool is the neutral density (ND) graduated filter. In this guide, we’ll explore how to choose the right ND filter for your landscape shots, making the process easier and more rewarding.
All too often, tutorials for choosing neutral density graduated filters or ND grads appear in photography magazines, but they’re not giving you all of the information you need to choose the correct density.
When I first started learning photography, I found it extremely irritating when I asked others, “How do I choose the correct grad?” and got various responses that led to nothing.
If you follow along in the video, then I will show you three different methods on how to choose neutral density graduated filters. Each step is more complex, but if you listen carefully to the last method, then you’ll fully unlock the mysteries you are looking for.
The photography magazines focus on you learning how to meter from a mid-tone. But what is that elusive mid-tone? The tutorial will give you a far better way of learning how to see tones in the landscape.
Hopefully, what I’ve done with this tutorial video is give you the tools to learn how to use ND grad filters. If you feel that you are still not getting it, then please comment on the video, and I’ll try my best to make things clearer.
Throughout the year, I offer photography tours and workshops in a variety of destinations around the world. If you’re interested in learning more from me to help you get the best out of your photography, then get in touch.
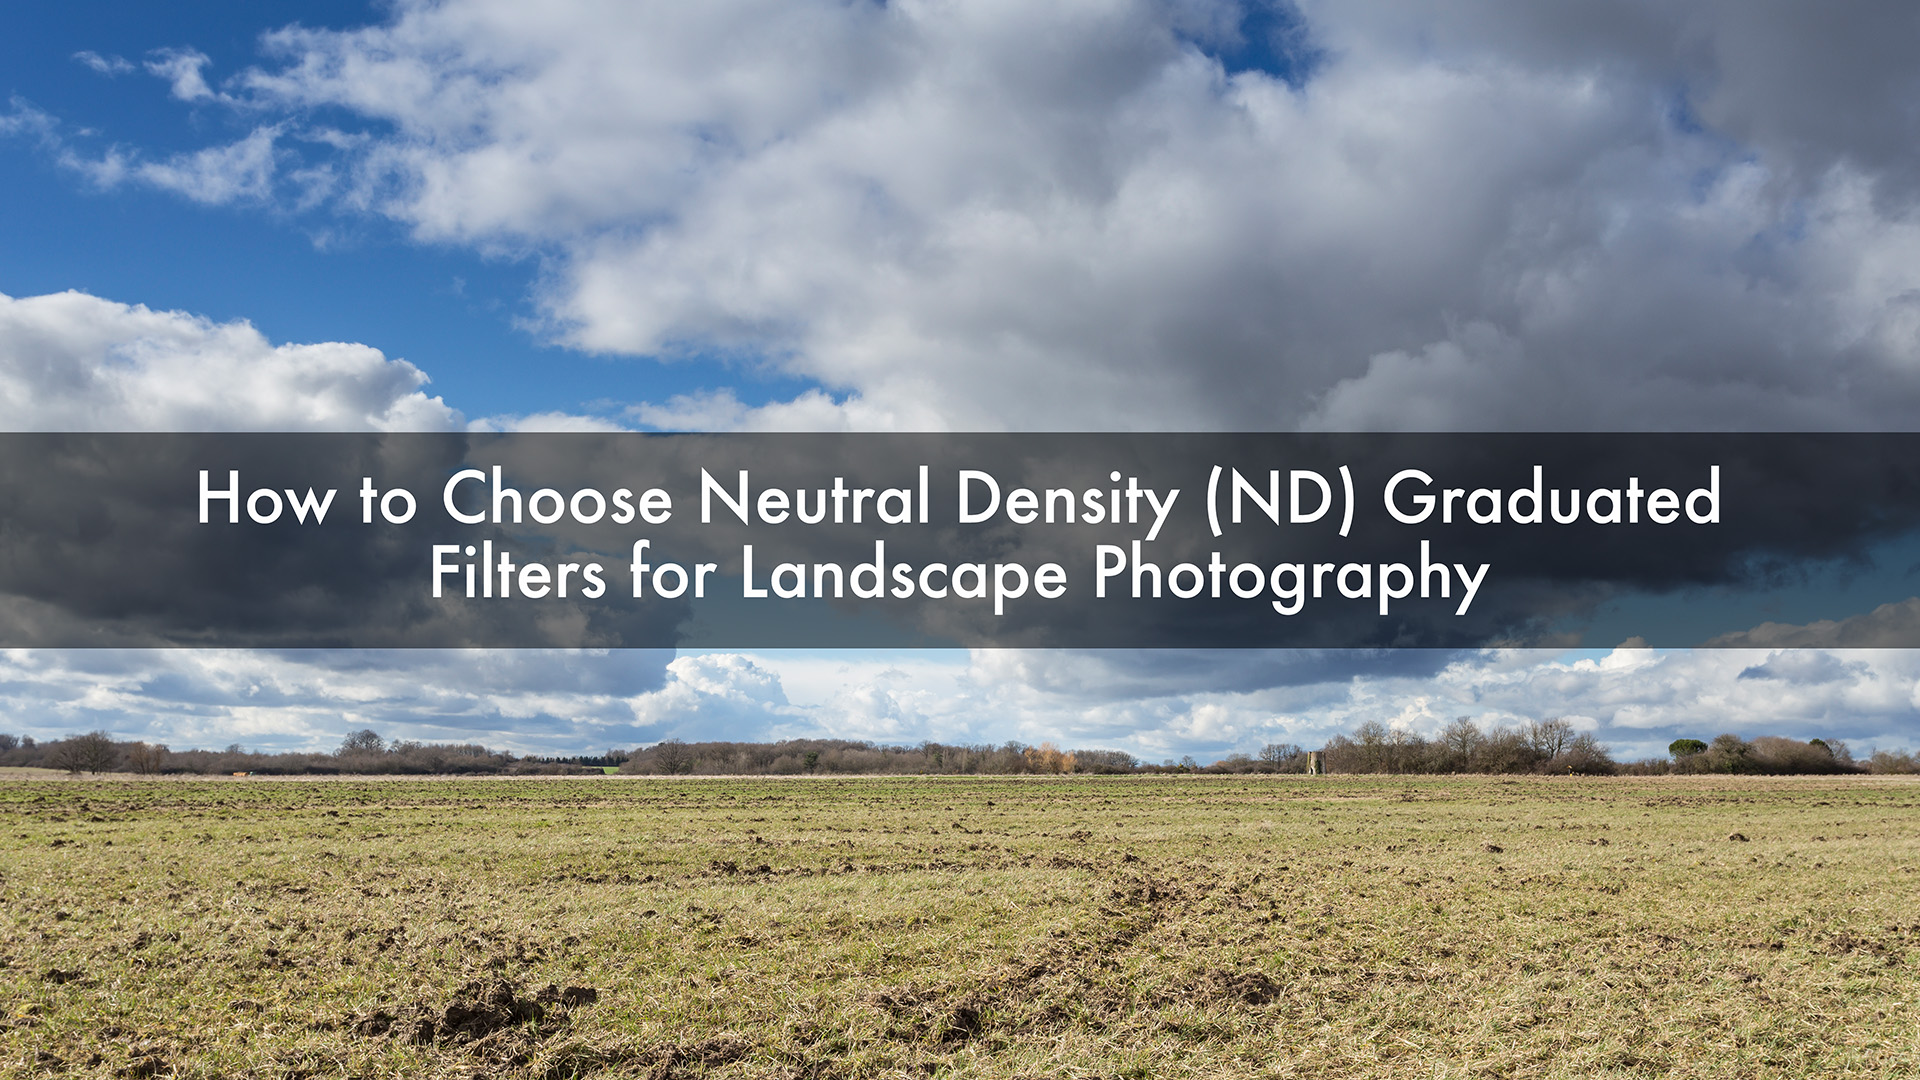
Neutral-density graduated filters help balance the exposure between bright skies and the darker foreground. They have a darker area at the top that gradually fades to clear, allowing you to darken the sky without affecting the foreground.
Have you ever taken a photo of a stunning landscape, only to find the sky is too bright? That’s where ND filters come in. They reduce the light in the brighter areas, helping you capture a more balanced image.
Three Simple Methods to learn how to use ND Grad Filters
Choosing the right ND graduated filter can seem tricky, but it doesn’t have to be. Here are three methods that will simplify the process.
Method 1: Live View Exposure Check
The first method is quick and straightforward. Here’s how to do it:
This method gives you a quick way to select the correct filter based on your scene.
Method 2: Using Multi-Segment Metering
This method helps you get readings from various parts of the scene.
This method involves more steps but provides a more thorough approach to metering.
Method 3: Finding Mid-Tones
Finding the right mid-tone in your scene can help determine the necessary ND grad filter.
For more challenging scenes, try this alternative: use a black patch (like felt) to meter from and then adjust based on that reading.
Learning how to use ND grad filters for landscape photography doesn’t have to be confusing. With these simple methods, you can confidently select the right graduated filter for your shots. Always remember to check the differences in exposure between the foreground and sky. This will lead to beautifully balanced images. If any part of this guide is unclear, don’t hesitate to ask for help!
Of course, you can always come on one of my photo tours and I can give you more instructions on their use. If you want more personalised instruction, then I am available for 1 to 1 tuition.
Popular manufacturers of ND grads are: